
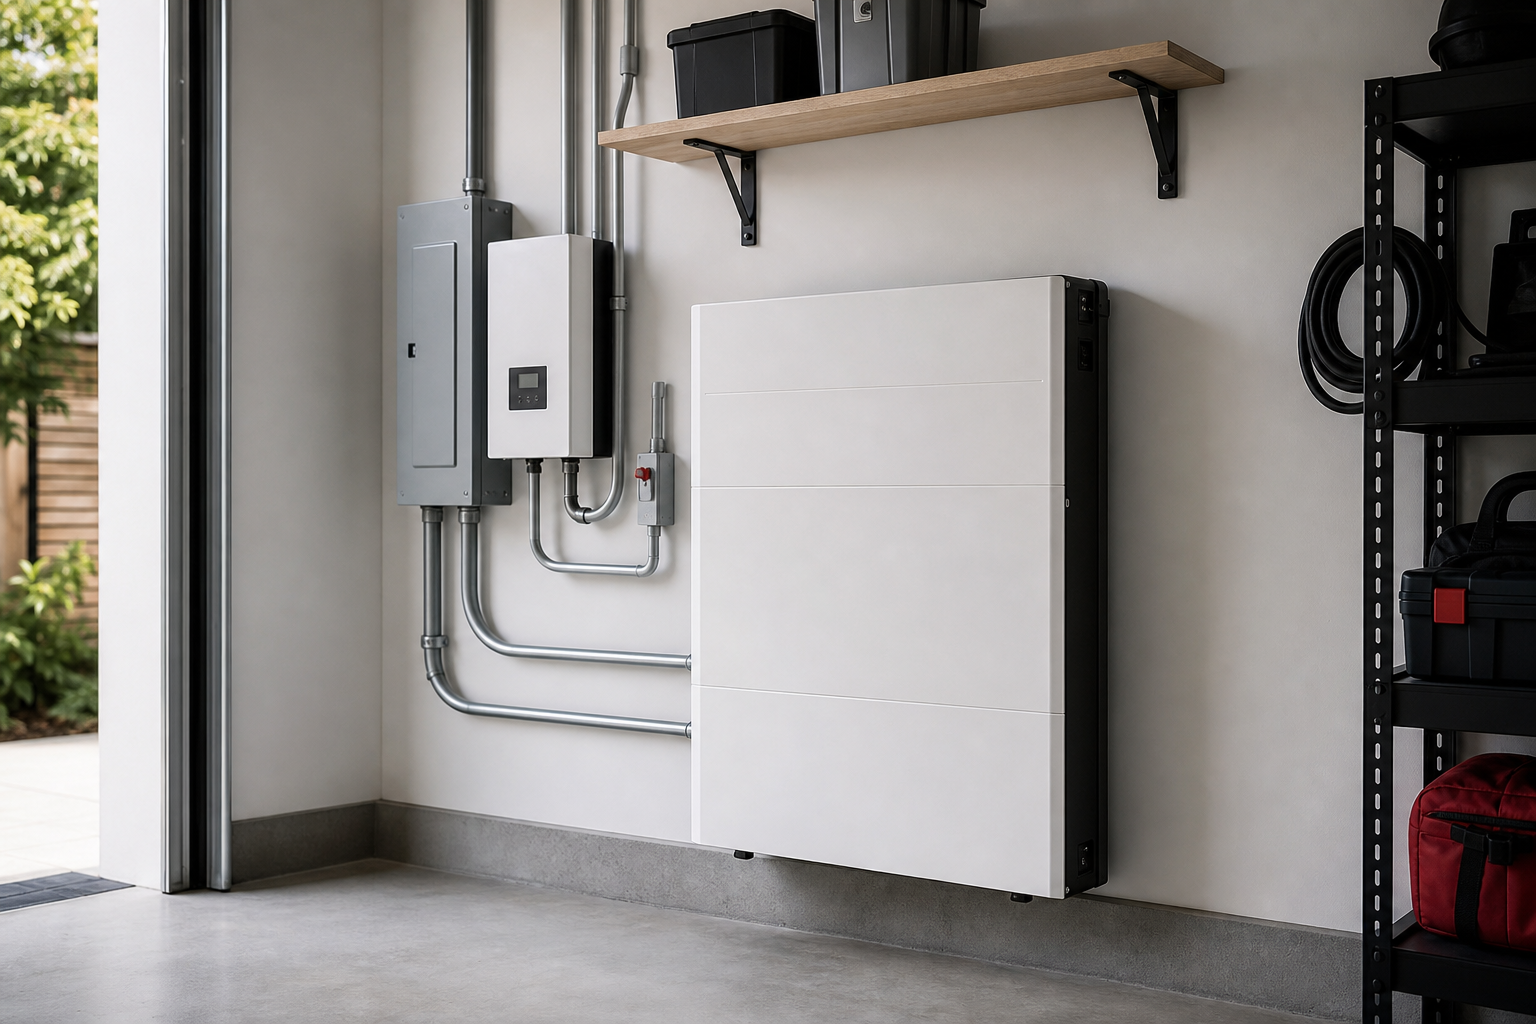
Most diy home battery failures start before the battery is ever switched on: poor clearance, mismatched inverter protocols, or cable runs that looked fine on paper but turn into a nightmare on site. If you’re an installer or distributor, you’ve seen how quickly a simple job can go sideways when the real installation environment doesn’t match the datasheet’s tidy assumptions. This guide covers the field realities that spec sheets skip, so you can avoid the most common and costly mistakes in diy home battery projects.
What are the most common field failures in diy home battery installations?
The most frequent failures I see are due to insufficient clearance around the battery, improper cable routing, and ignoring ambient temperature limits. Batteries crammed into tight utility closets or mounted flush against a wall can’t dissipate heat, leading to thermal cutouts or, worse, permanent cell degradation. Cable runs that exceed recommended lengths or have sharp bends often cause voltage drop, nuisance tripping, or even insulation breakdown over time.
Another regular issue is mismatched inverter communication protocols. Many diy home battery buyers assume any 48V battery will work with any hybrid inverter, but protocol mismatches cause silent failures—batteries don’t charge fully, or BMS alarms go unreported. Always check both voltage and communication compatibility before procurement.
- Clearance: Minimum 10–20 cm on all sides for air-cooled units.
- Cable runs: Keep below manufacturer’s max length, typically 3–5 meters for 48V systems.
- Ambient: Operate within 0–40°C for most lithium packs.
- Inverter: Confirm both voltage and communication protocol match.
How do you size a diy home battery for residential use?
Sizing a diy home battery starts with the household’s daily energy use and the backup duration required. Most residential systems use 5–15 kWh batteries, but the right size depends on actual load profiles and inverter compatibility. Oversizing wastes money and space; undersizing leads to rapid cycling and shorter battery life.
Calculate the average daily energy consumption in kWh, then multiply by the number of backup hours needed. Factor in inverter efficiency (typically 90–95%) and depth of discharge (DoD), which for LiFePO4 is usually 80%. For example, a home needing 8 kWh backup for 6 hours with 95% inverter efficiency and 80% DoD would require:
- Required battery capacity = (8 kWh / 0.95) / 0.8 ≈ 10.5 kWh
Always round up to the next standard size and confirm the inverter can handle the battery’s voltage and current.
What installation constraints are often overlooked?
Clearance, wall strength, cable routing, and service access are the most overlooked constraints. Spec sheets rarely mention the real space needed for airflow, cable bends, or future maintenance. For wall-mounted batteries, check the wall’s load rating—some units weigh 40–100 kg. Mounting on drywall without reinforcement is a recipe for disaster.
Plan cable runs before installation. Long or convoluted routes increase resistance and heat. Service access is another trap: if you can’t reach the BMS or disconnects without removing the battery, routine maintenance becomes a major job. Always leave at least 30 cm in front for access, and avoid stacking units unless the design specifically allows it.
| Constraint | Typical Requirement | Field Issue |
|---|---|---|
| Clearance | 10–20 cm sides, 30 cm front | Overheating, poor service access |
| Wall strength | 40–100 kg load | Mounting failure, safety hazard |
| Cable routing | <5 m, gentle bends | Voltage drop, insulation wear |
| Ambient temp | 0–40°C | Capacity loss, cycle life reduction |
How does ambient temperature affect diy home battery performance?
Ambient temperature is a silent killer for lithium batteries. Most datasheets specify cycle life at 25°C, but in real homes, batteries see 0–40°C swings. Operating regularly above 35°C can cut cycle life by 20–40% compared to the datasheet value. Below 0°C, charging is often disabled by the BMS, or if forced, can cause plating and permanent damage.
Install batteries in temperature-controlled spaces whenever possible. If mounting in a garage or utility room, check for insulation and avoid direct sunlight or proximity to heat sources. For outdoor installations, use only batteries rated for the full temperature range and with appropriate IP ratings.
What procurement checks prevent compatibility and warranty issues?
Before ordering a diy home battery, confirm the inverter’s DC voltage range, supported communication protocols (RS485, CAN, or proprietary), and physical connector types. Mismatches are a top cause of silent failures and warranty disputes. Suppliers often assume buyers know what protocol their inverter needs—never guess.
Request a written compatibility statement from both battery and inverter suppliers. For B2B buyers, this is your insurance against finger-pointing if something fails. Also, check the supplier’s warranty terms for exclusions related to installation environment, temperature, and inverter compatibility.
- DC voltage match (e.g., 48V, 51.2V)
- Communication protocol (RS485, CAN, Modbus, etc.)
- Connector type and pinout
- Written compatibility confirmation
How do you compare diy home battery specifications in practice?
Spec sheets often look similar, but real-world performance can diverge sharply. Cycle life is usually quoted at 25°C and 80% DoD; in the field, expect 10–30% less if ambient conditions or usage patterns differ. IP ratings matter: IP65 means dust-tight and water jet-resistant, suitable for garages or outdoors, while IP20 is indoor-only.
Compare batteries using a table that includes capacity, voltage, cycle life at stated DoD, IP rating, and weight. Always ask suppliers to clarify test conditions for cycle life and capacity. Here’s a sample comparison:
| Model | Capacity (kWh) | Voltage (V) | Cycle Life @80% DoD | IP Rating | Weight (kg) |
|---|---|---|---|---|---|
| Typical Wall-Mount | 5 | 51.2 | 6000 | IP65 | 48 |
| Typical Stackable | 10 | 51.2 | 6000 | IP20 | 95 |
| High-Voltage Unit | 15 | 409.6 | 6000 | IP20 | 145 |
What installation and commissioning steps are essential for safety?
Skipping commissioning steps is a major cause of field failures. Always verify polarity and torque on all DC connections. Use a calibrated torque wrench—loose lugs cause arcing, while overtightening can strip threads or crack terminals. Confirm BMS communication with the inverter before closing up the enclosure.
Test the system under load, not just idle. Monitor for abnormal heat, voltage drop, or BMS alarms during the first charge/discharge cycle. Document all settings, serial numbers, and test results for warranty support. Never leave a new installation unattended during initial charge.
- Check polarity and torque on all terminals
- Verify BMS-inverter communication
- Test under load and monitor for alarms
- Document all commissioning data
What’s the next step for installers and distributors?
Review your site’s installation constraints and confirm compatibility between the diy home battery and inverter before ordering. Request written confirmation from suppliers on protocol and voltage match. If you’re unsure about a specific environment or load profile, request a technical assessment from the supplier’s engineering team. Field failures are almost always preventable with careful planning and clear communication up front.
Frequently asked questions
Can I use any 48V diy home battery with my existing hybrid inverter?
No. Voltage must match, but communication protocol (RS485, CAN, Modbus, or proprietary) is just as important. Mismatches cause silent failures or limit functionality. Always confirm both with the inverter and battery supplier.
How much clearance is needed around a diy home battery for safe installation?
Most air-cooled lithium batteries require at least 10–20 cm clearance on all sides for airflow and 30 cm in front for service access. Insufficient clearance leads to overheating and difficult maintenance.
What happens if a lithium battery is charged below 0°C?
Charging below 0°C can cause lithium plating, which permanently reduces capacity and safety. Most BMS units will block charging below freezing, but if bypassed, expect rapid degradation or failure.
AJPOWER-Battery